


Introduction
Hello everyone, in today's post I wanted to show you how to use the google cloud hosting service. using that service, we can host static web pages easily, free, and securely.
Why use Firebase Hosting?
Firebase hosting will provide you impressive good speed without the need for separate CDN and it's FREE, easy to use, and provides the SSL certificate so that your website will be hosted securely with HTTPS.
Requirements
- Google account for Firebase setup in console
- Domain: you can purchase a domain from any provider
- Firebase-CLI (installation process showed later in this post)
Hosting a static website
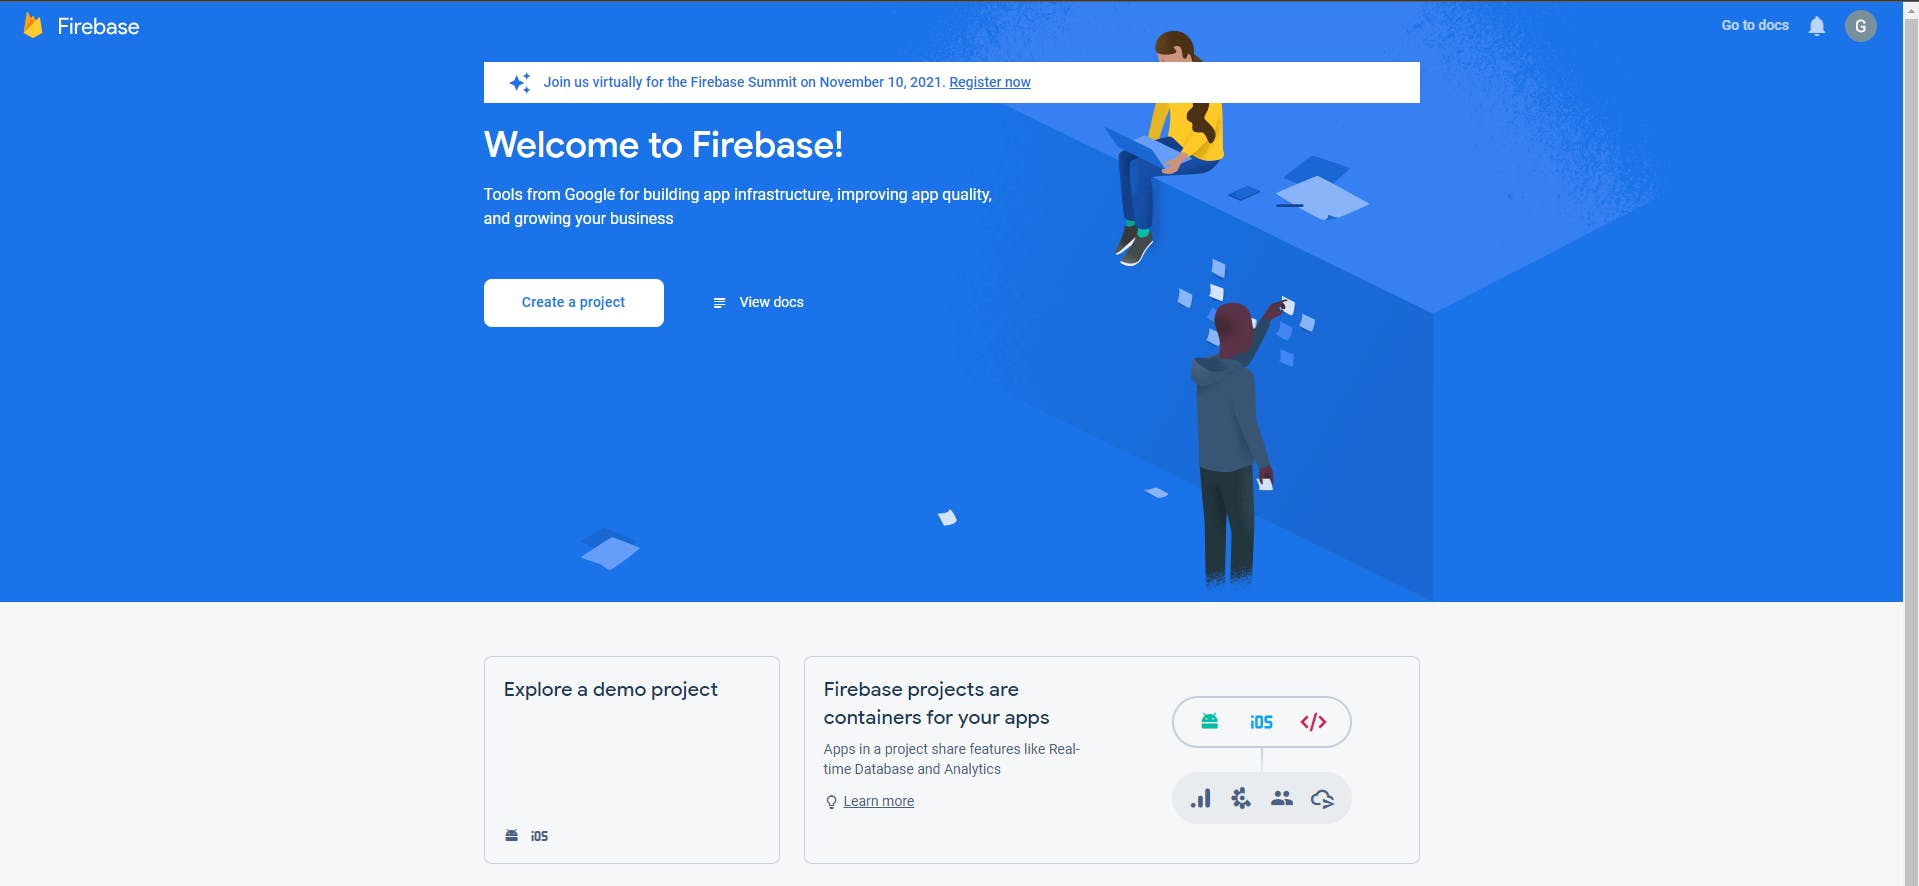
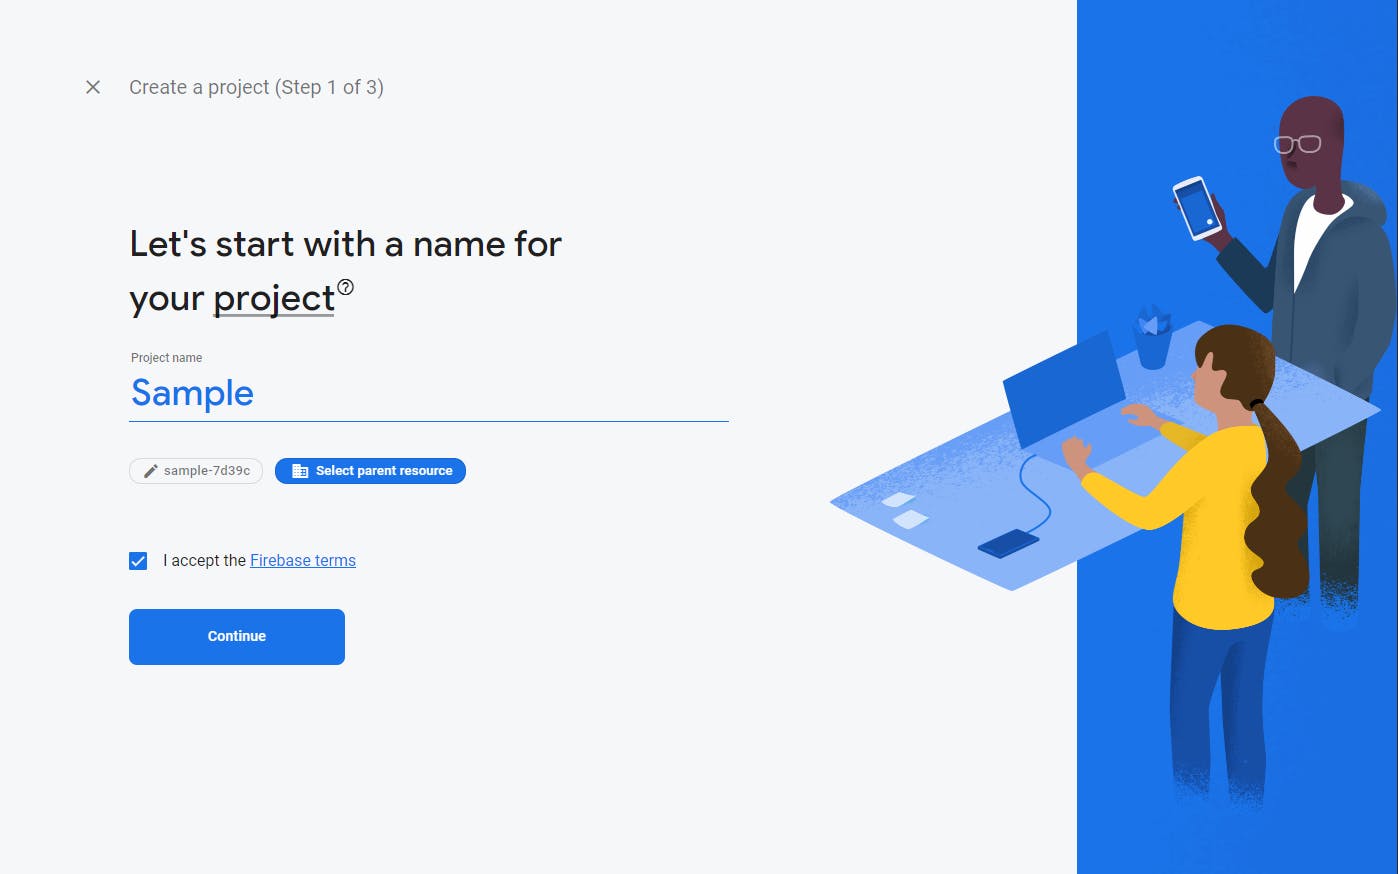
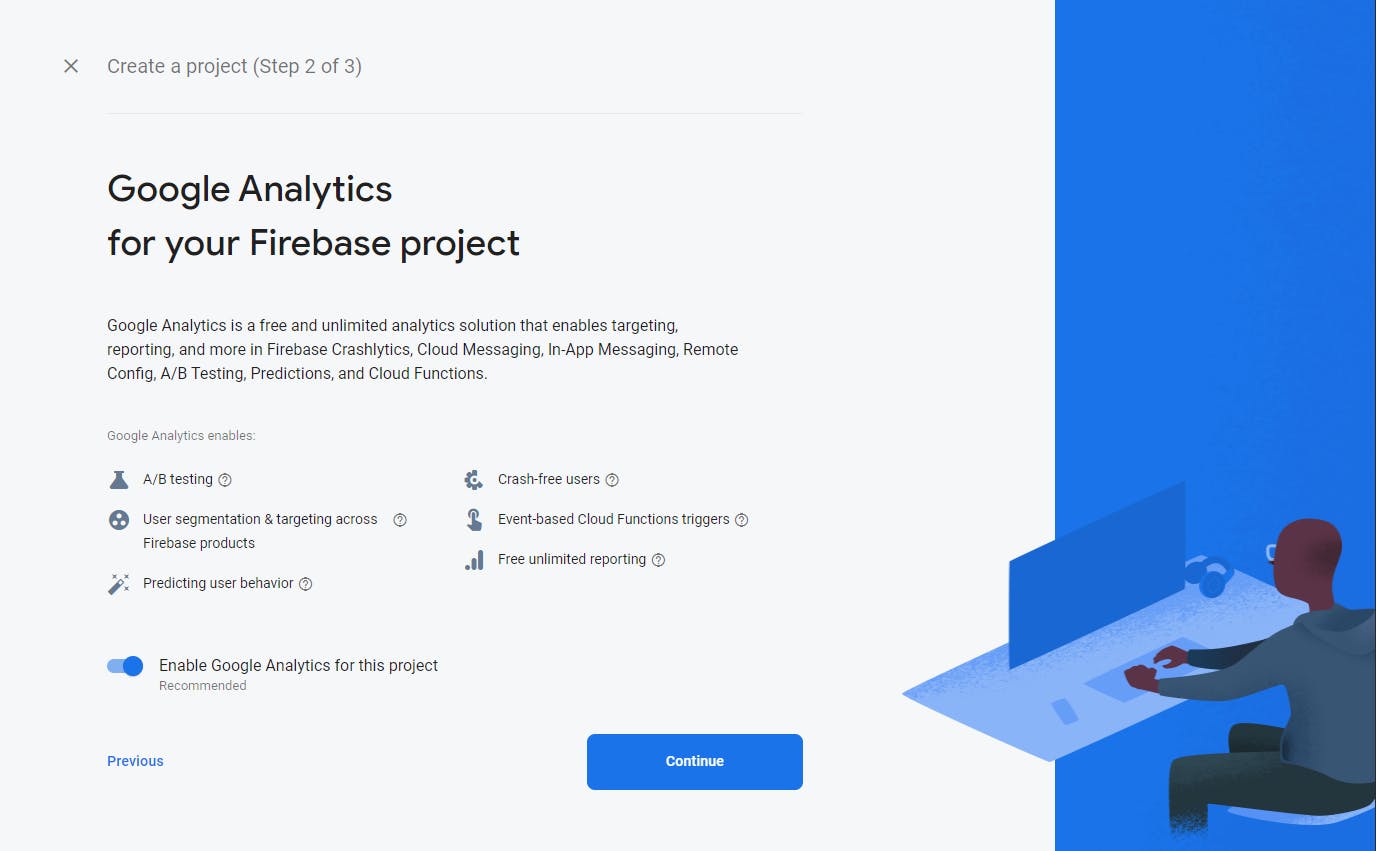
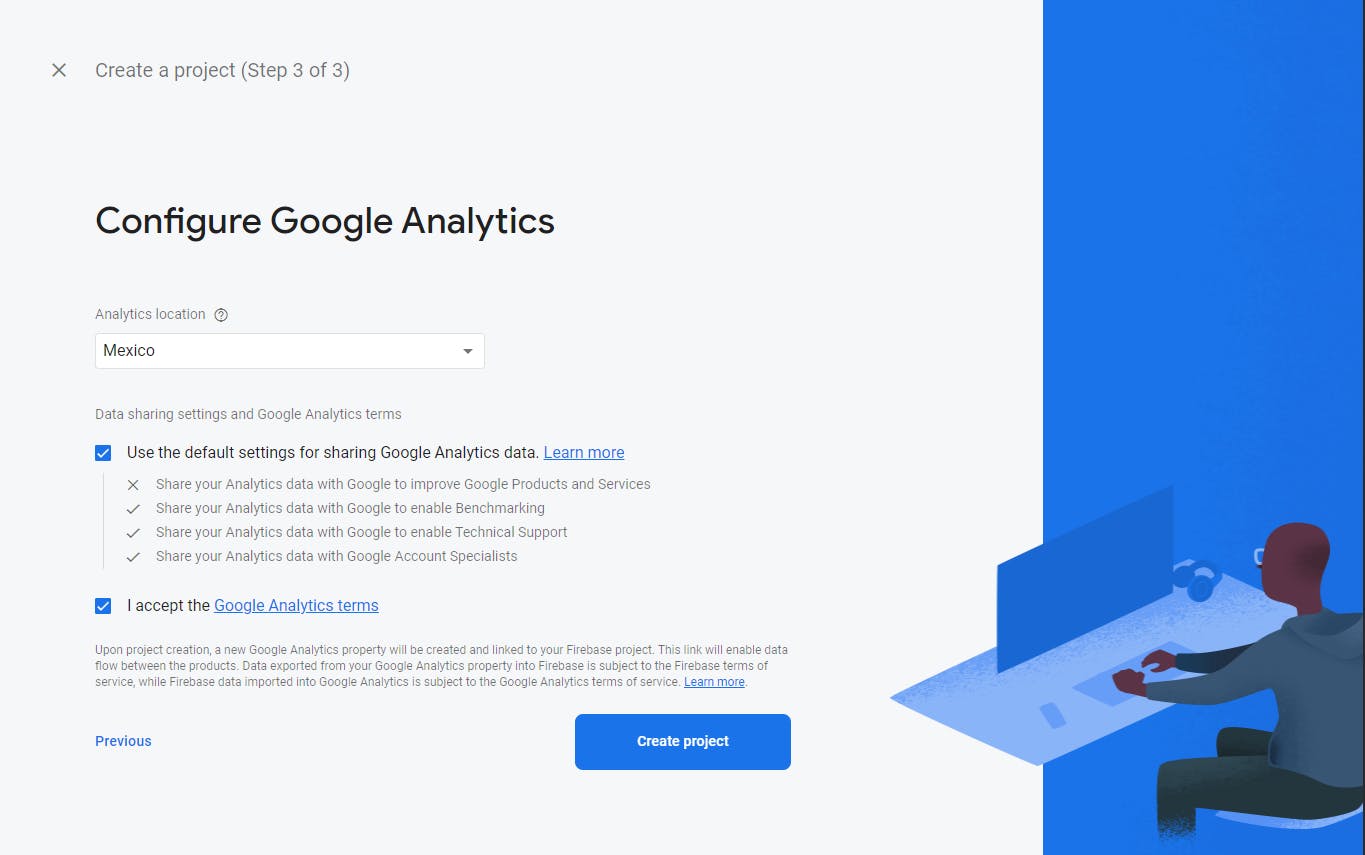
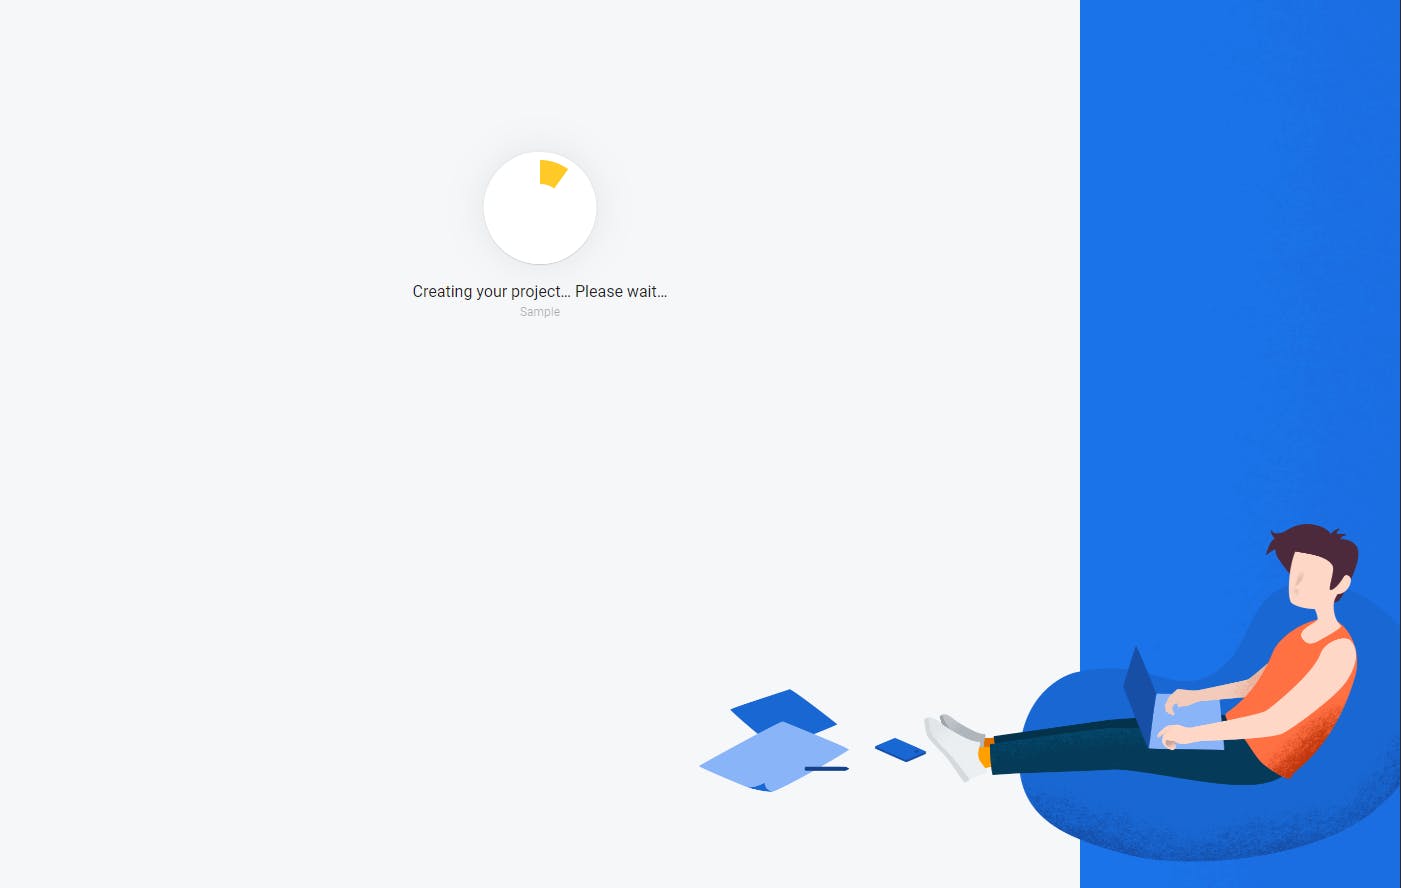
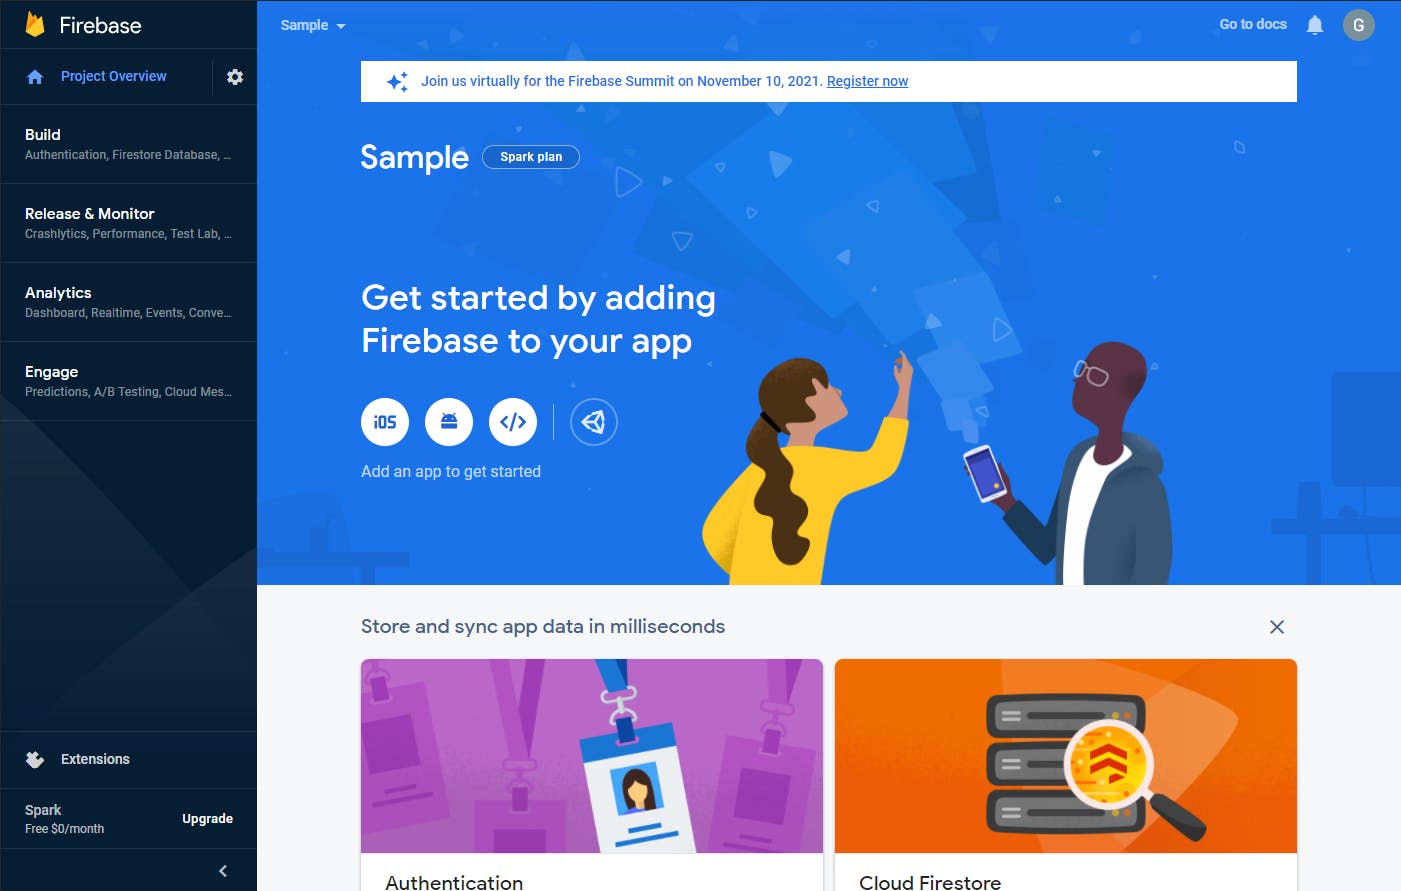
Step 1 - Configure Firebase project on Firebase console
Open Firebase Console ==> Sign in with your Google account ==> Create project ==> Add title ==> Enable Google analyitics for your country.
See the images below for guidance.
Step 2 - Install Firebase-CLI on your machine
Simply execute the following command:
npm install -g firebase-tools
or you can use:
yarn global add firebase-tools
Step 3 - Configuration of Firebase-CLI on the local machine
- Create a new folder on your computer
- Open a new CMD(command prompt) and cd into the newly created folder
- Now execute the command:
firebase login
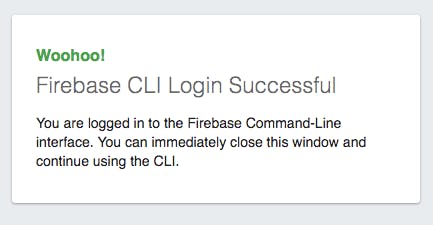
This will redirect you to the sign-in page in the browser, where you just need to simply sign in.
After successfully given access, you should get the below message on the browser
Step 4 - Initialize project
On your command prompt, simply execute the following command:
firebase init
After executing this command you should see the following screen:
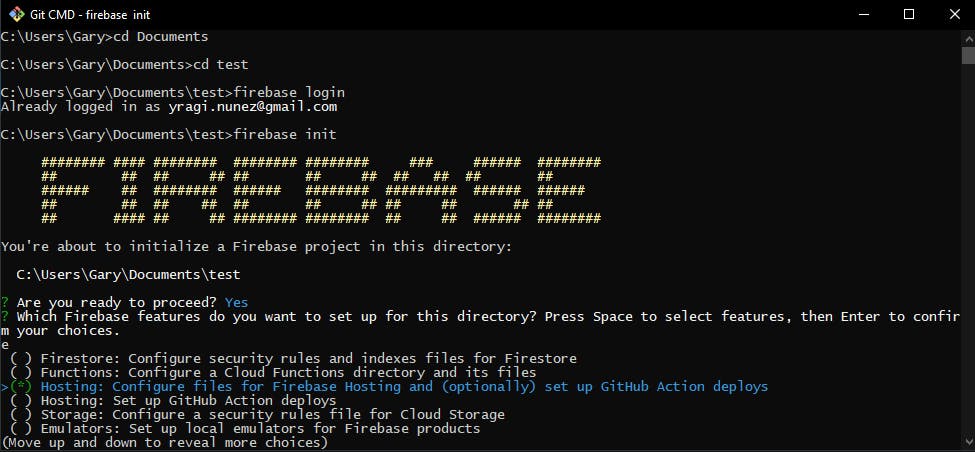
After pressing enter to the question
are you ready to proceed?
you should select the option:
Hosting: Configure files for Firebase Hosting and (optionally) set up GitHub Action deploys
Use arrows to change selection and select using the spacebar, then press enter.
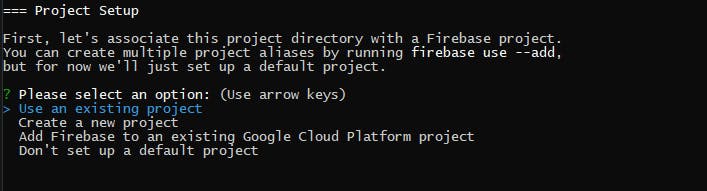
Once the Hosting option is selected, they'll provide the option to choose an existing project or create a new one. As we have already created a sample static project, you need to just choose the existing option and press enter.
 After pressing
 enter you should see your Firebase project, select it, and press enter.
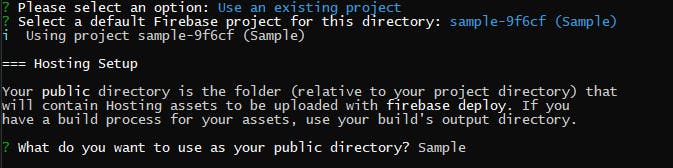 Then it will ask you for a name for the public directory, you can put the same name as your project, and after pressing
 enter the following question should appear

If your page is a single page like mine you should answer yes.
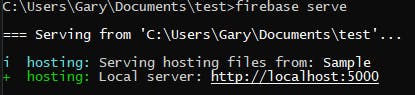
Step 5 - Publish website on LocalHost:5000
After we are done with the configuration we need to run the following command:
firebase serve
If we followed all of the steps correctly, in the folder created at the beginning we will find another folder and inside an index.html file that will be shown on localhost:5000
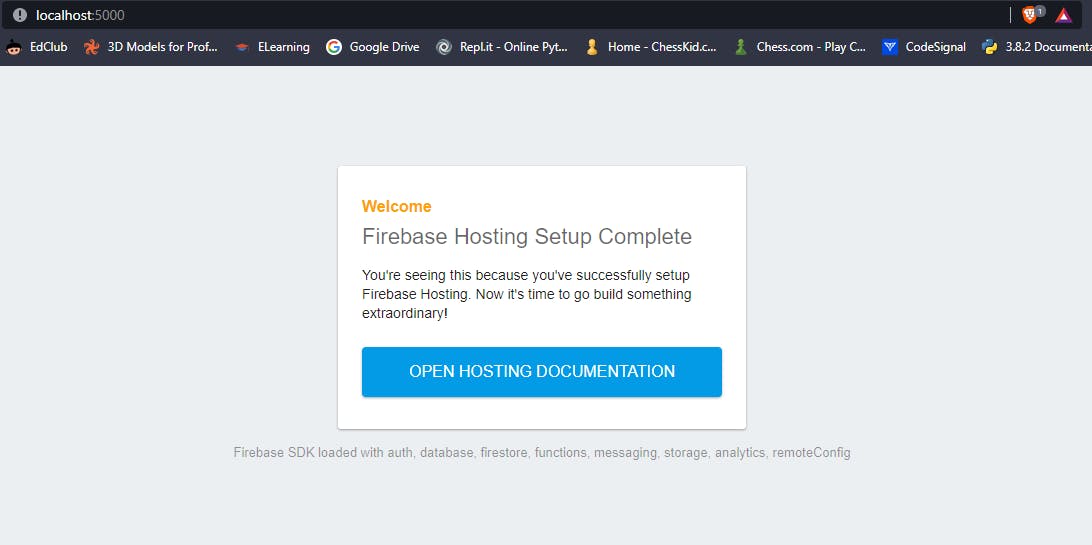 After watching the screen above without showing problems then we can exit with
 Ctrl+C
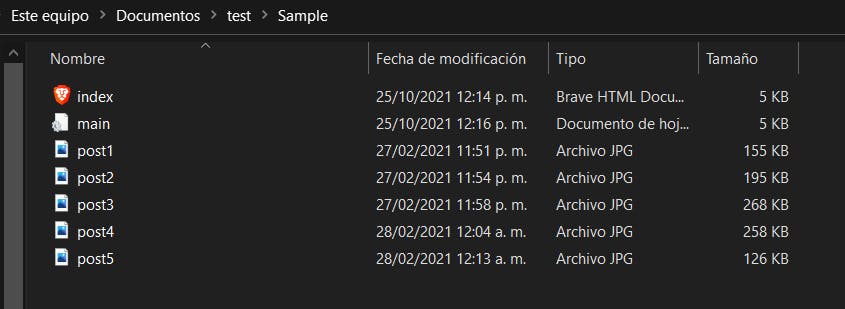
Step 6 - Adding our files
We're almost done!, now it's time to delete the index.html file and replace it with our wanted index.html, index.css, images, and icon files.
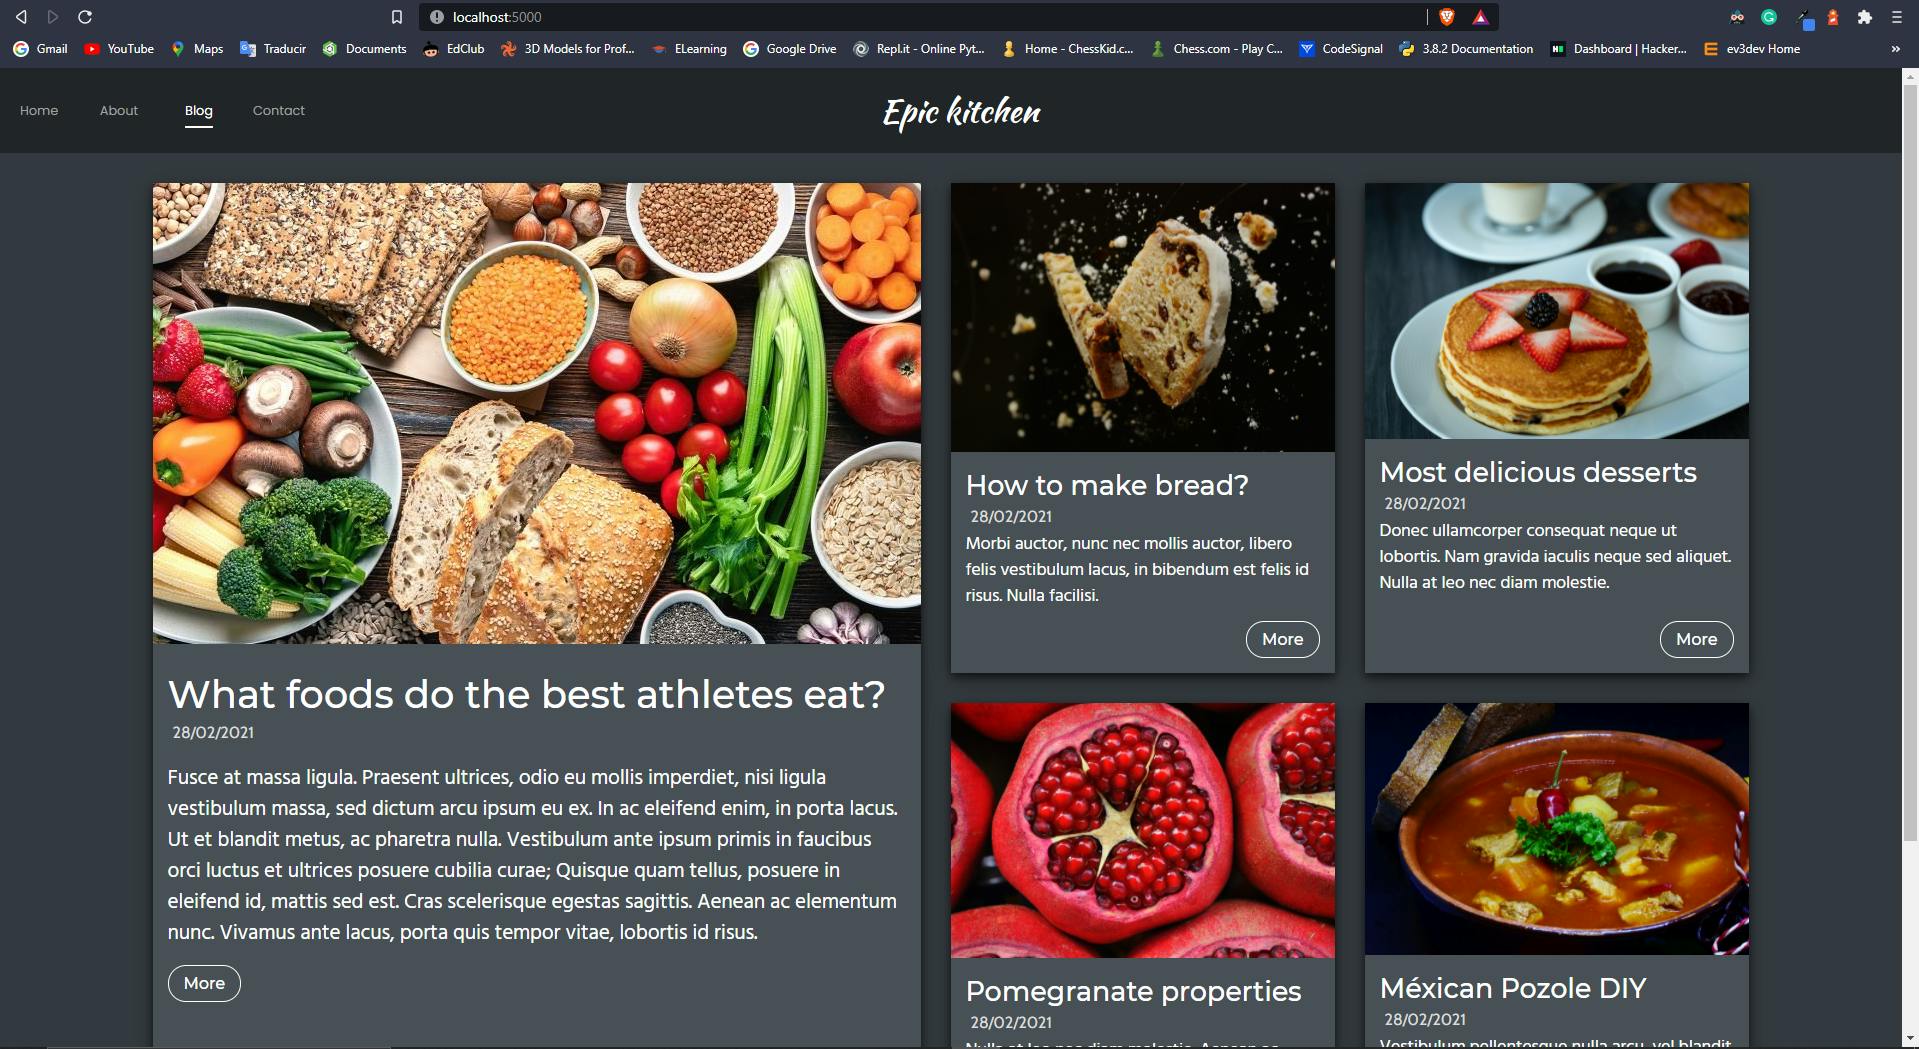
 Back at the CMD terminal we can repeat step 5 and now we should see our website on
 localhost:5000, it's likely that we see the old file instead of the new one so to fix that make sure to refresh the browser with Ctrl+Shift+R
Step 7 - Deploy on the Firebase server
After making sure everything works properly on localhost:5000, we can now exit and proceed with the deploy
firebase deploy
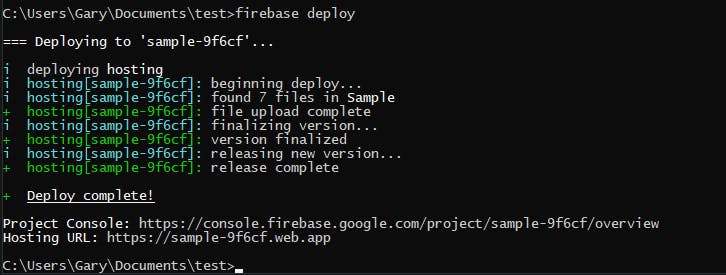 As we can see from the image above, after the deploy it's complete, we should get a Hosting URL, if we paste that into our web browser we should see our website.
We are Done!
Step 8 - Add Costume Domain
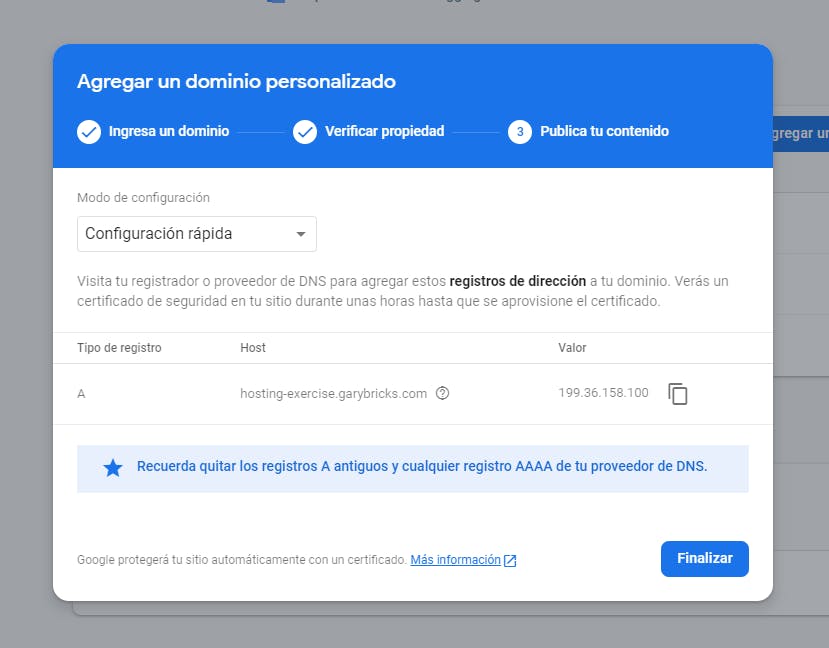
In the likely case that you don't want your website URL to look like this: sample-9f6cf.web.app and want to use a custom domain instead, we can do just that from the Project dashboard, just follow the images below.
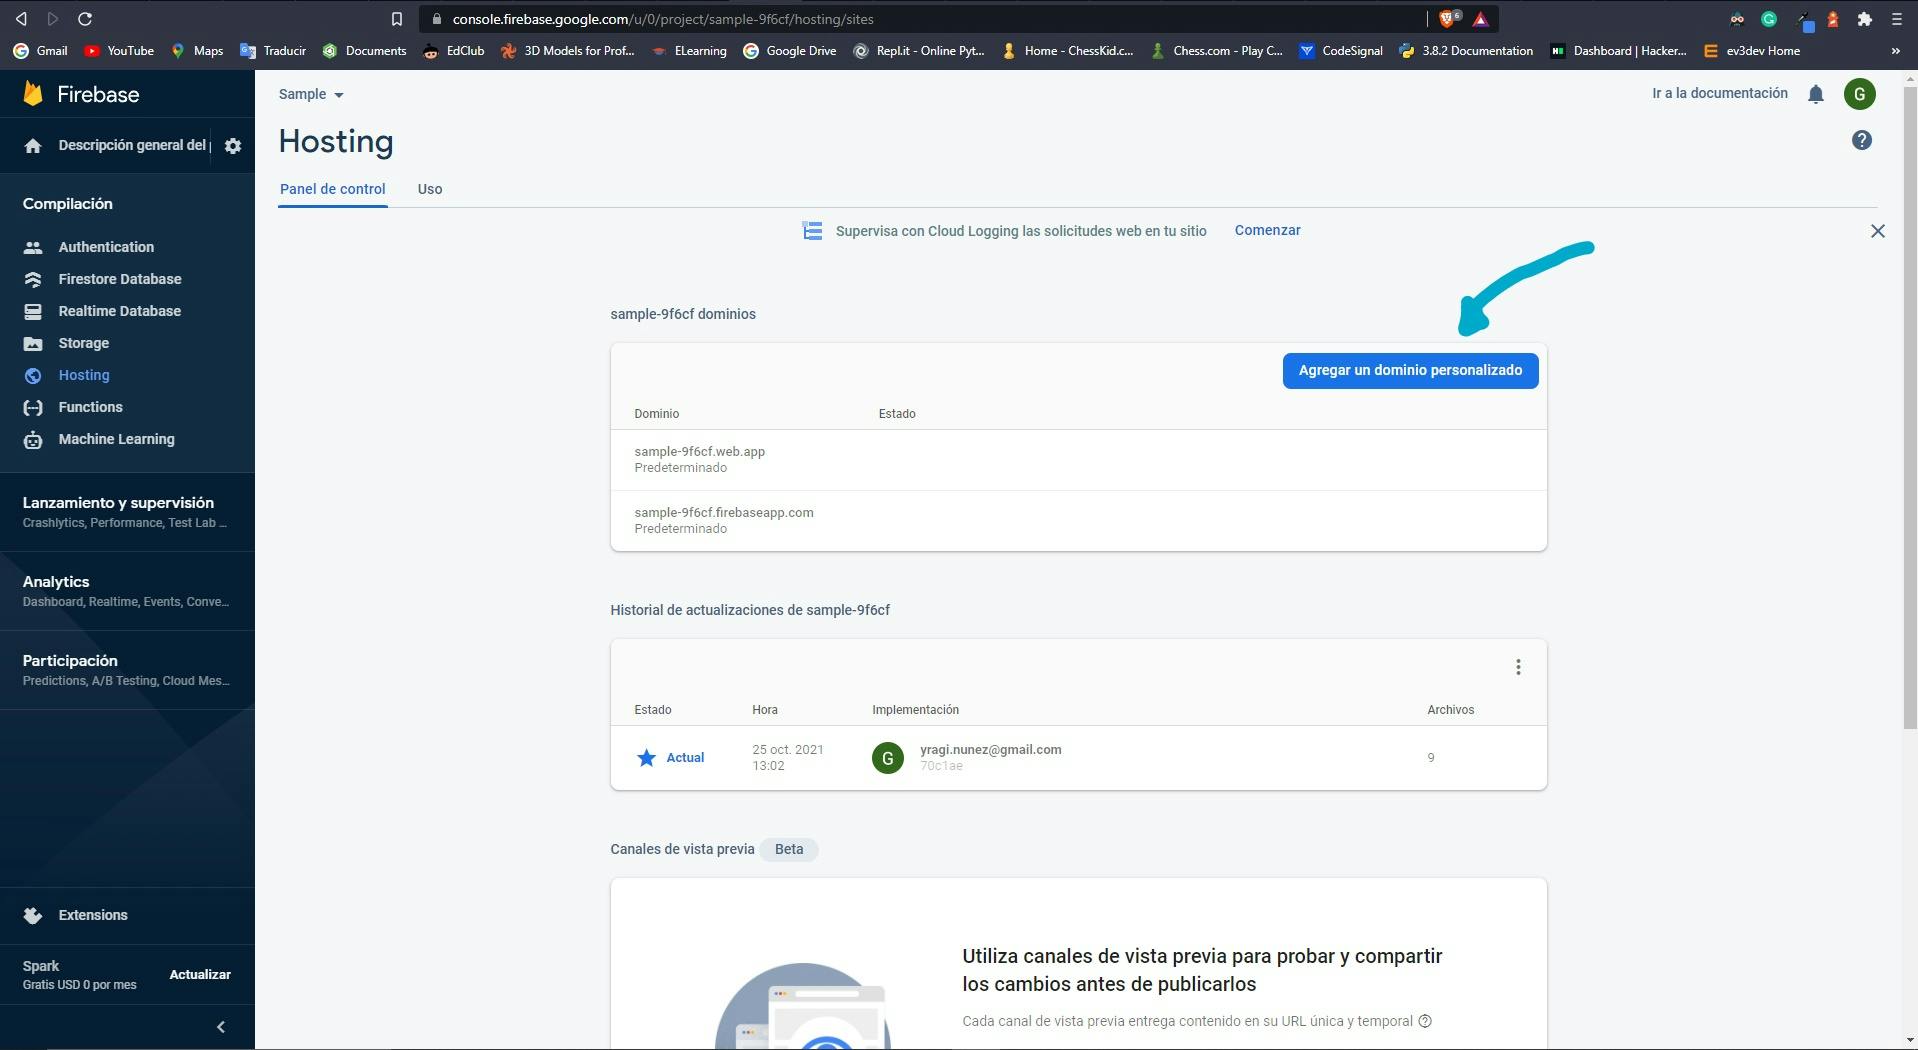
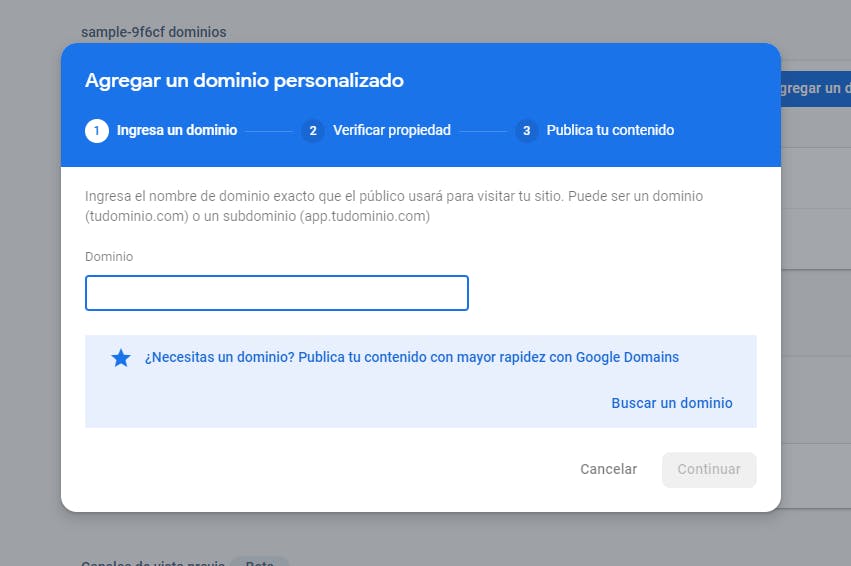
In my case, I already had a domain from domains.google and after following the three steps from the image above we should get a register type, host, and value (image below).
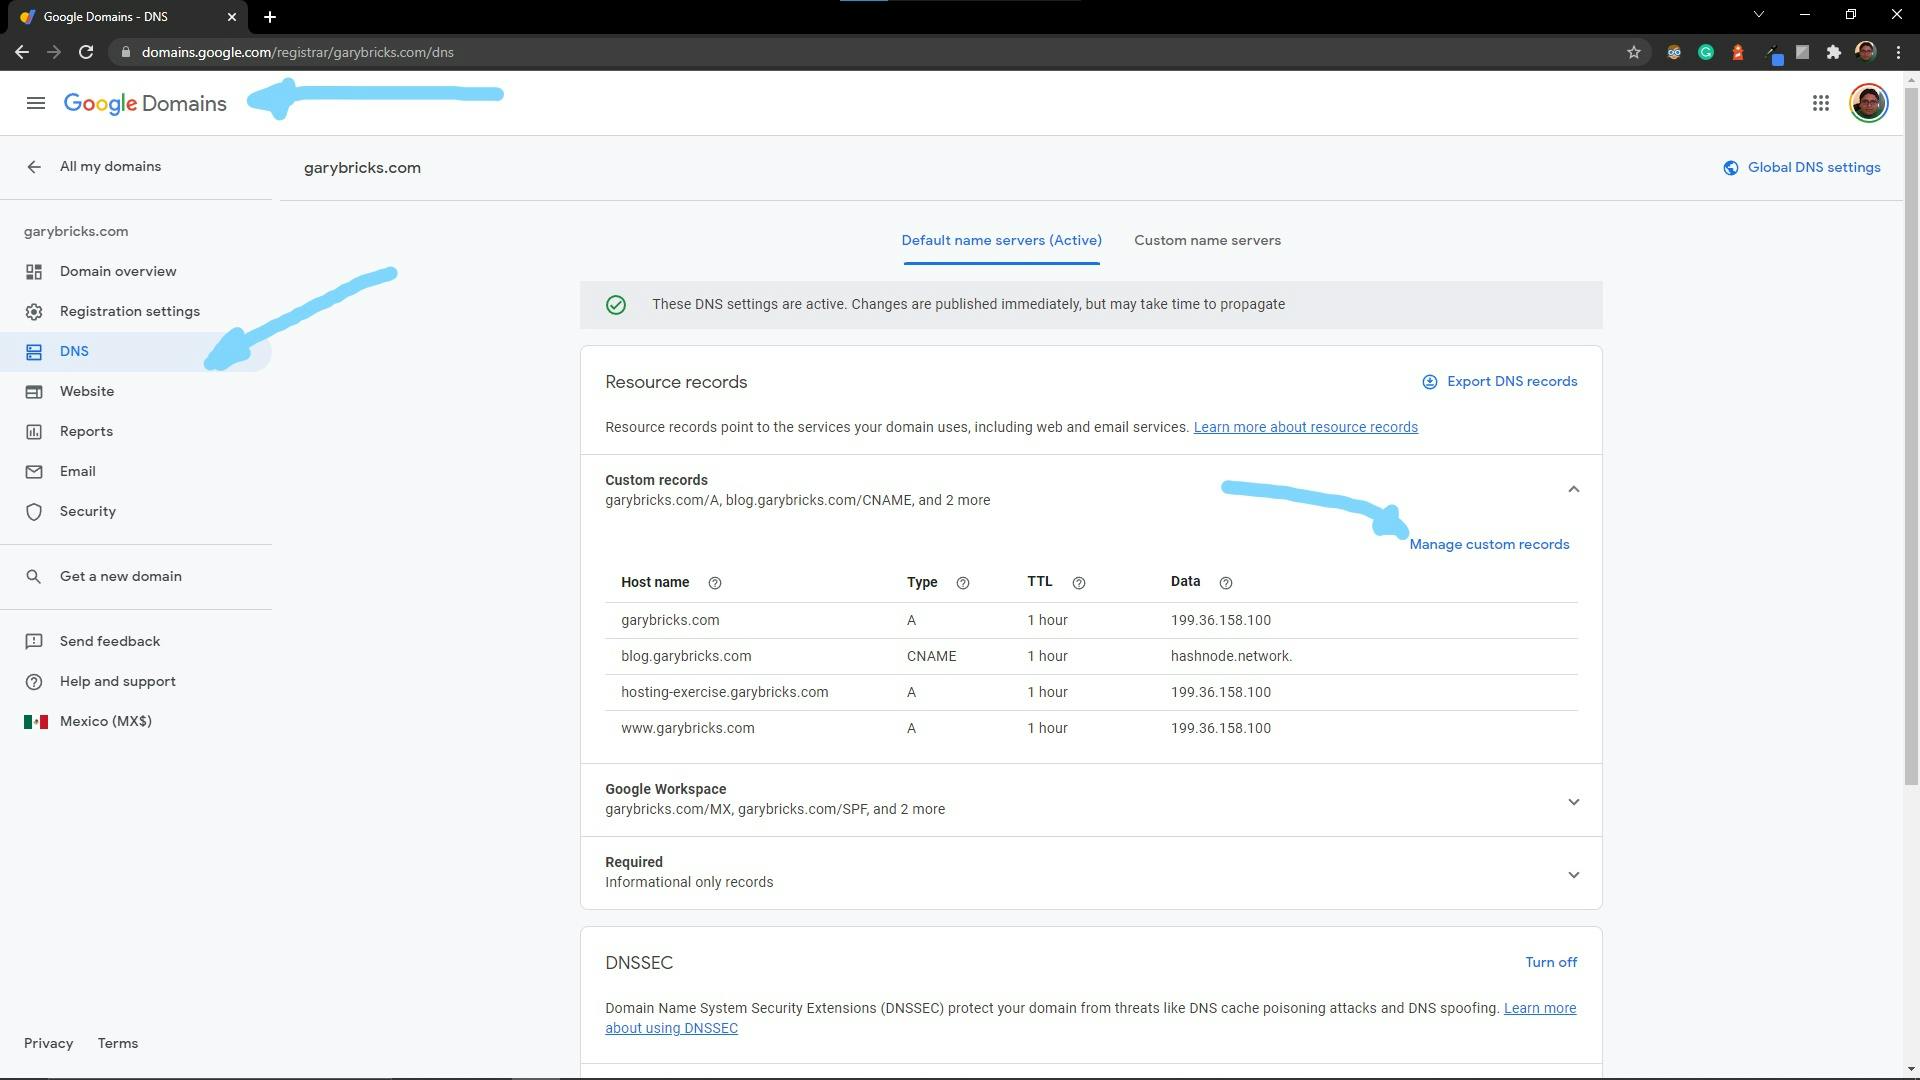
Now we need to go to Google Domains ==> Select your domain ==>DNS ==> Manage custom records ==> Create new record and enter the values there ==> Save.
See the images below for guidance.

Now we should wait some time, normally it's a few minutes, and after that, we are done hosting our website with firebase!.
Farewell
I really hope this post has taught you how to host your website with Firebase and if you have any suggestions or ideas, let me know in the comments below, see you in the next post!.